Designer
Designer is an advanced admin backend and authoring tool that enables you to upload, edit, delete the assets and apply configurations without modifying the source files yourself. Designer supports multiple projects, live preview as well as auto generation of css, html and javascripts files.
Installation
Upload “designer” folder to your server.
Change “USER_ID” and “PASSWORD” in “settings.php” (designer/slim/src folder):
The default id and password are “admin” and “admin1234”. To obtain a new hashed password execute this code in the terminal:
php -r '
echo(password_hash("newpassword", PASSWORD_DEFAULT));
'
Copy paste the result of previous command line into “PASSWORD” field in “settings.php” file
Launch designer on your server (for example: mywebsite.com/designer/)
Quick Start
Login to Designer with user id and password
Designer will start with an empty project, hit the eye icon in the icon bar to preview the current project. (The preview link is shown below the eye icon)
Designer Interface
Icon Bar
Various commands and functions from Menu Bar are available as buttons in Icon bar. Hover each button to see the tooltip showing its functions. The order of buttons are:
New Project
Open Project
Save Project
Delete Project
New Category
Delete Category
Upload Items
Delete Items
Delete Sample Items
Preview
Publish
Download Zip
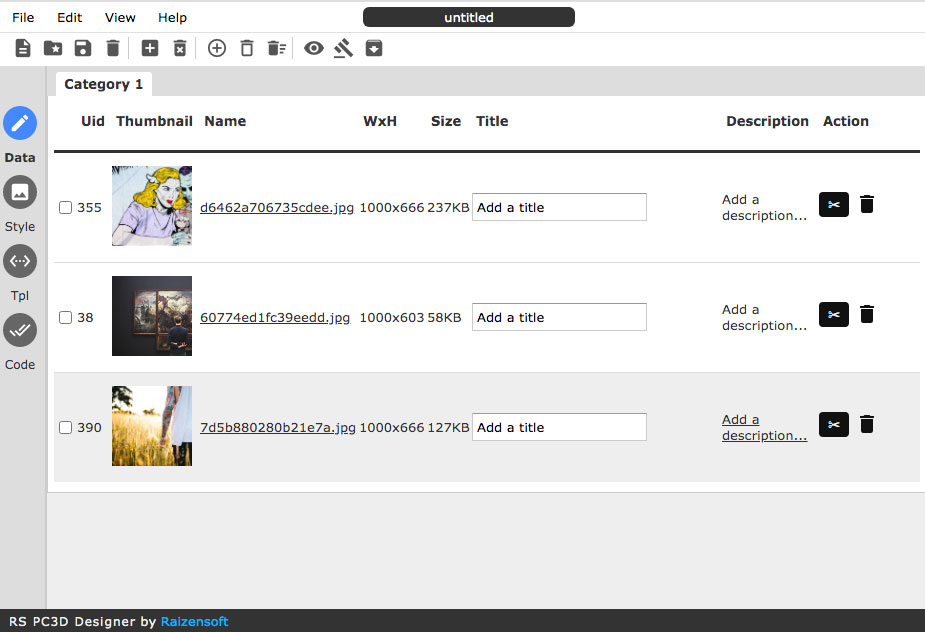
Data Editor
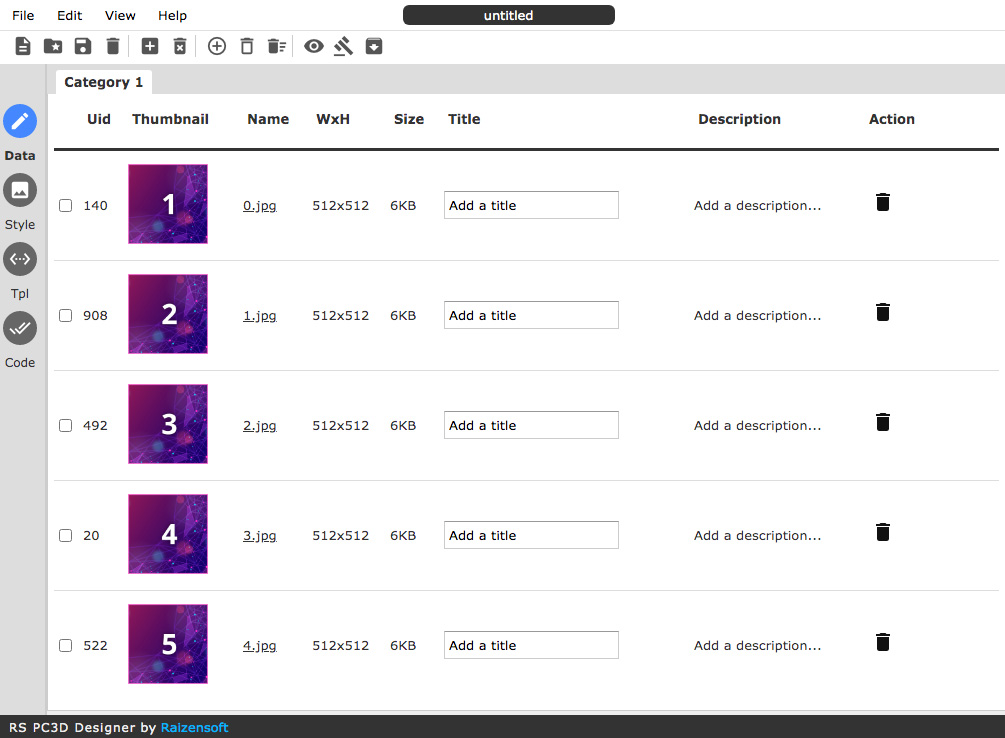
The Data Editor view is where you can manage gallery data items including uploading, deleting, modifying the item and its metadata. You can also change the item title, descripiton and crop the image in Data Editor.
Style Editor
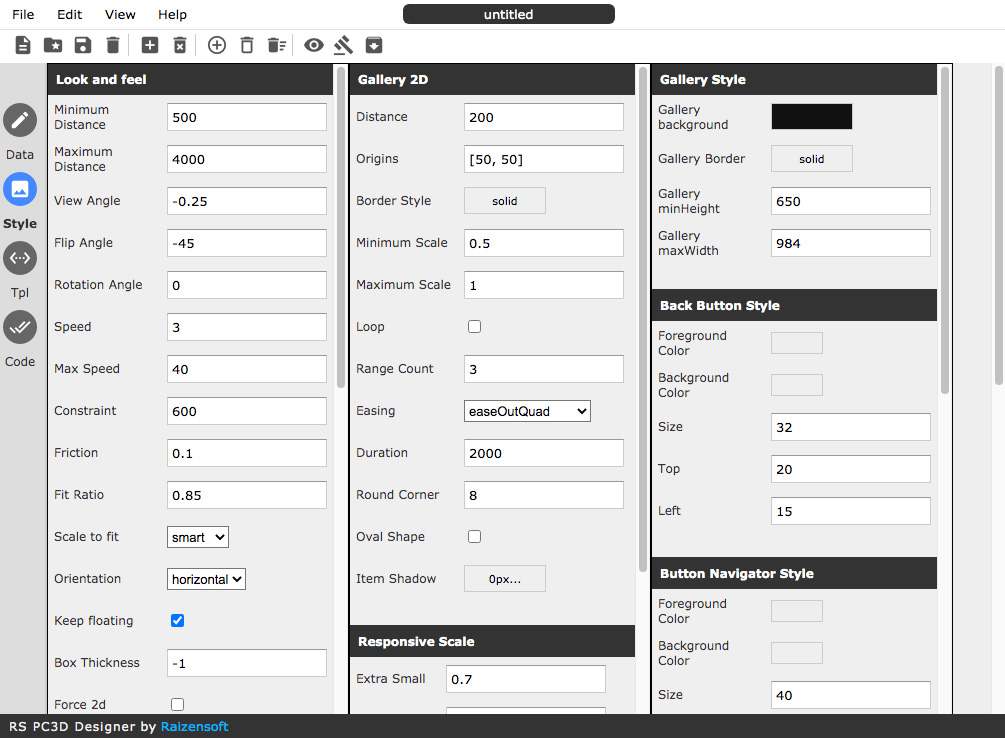
With Style Editor you can change all the gallery configurations using intuitive dialog panel and user interface widgets.
Template Editor
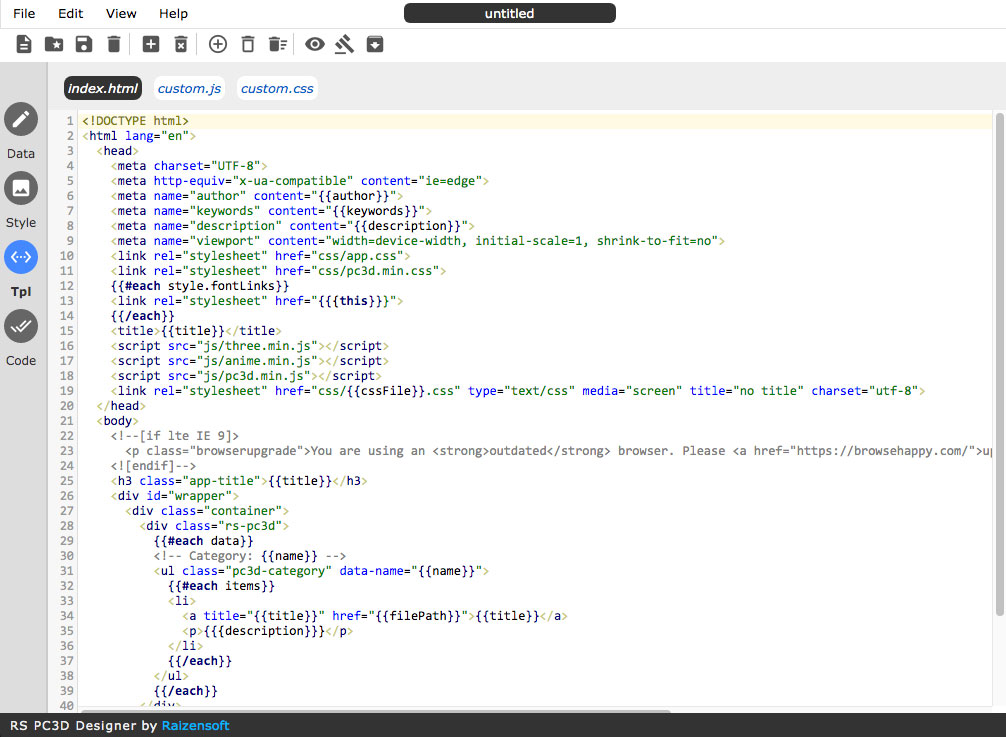
The Template Editor shows default templates for the main html, javascript and css files. The template uses handlebarjs syntax to pull the dynamic data from Data Editor and Project Settings.
Generated Code
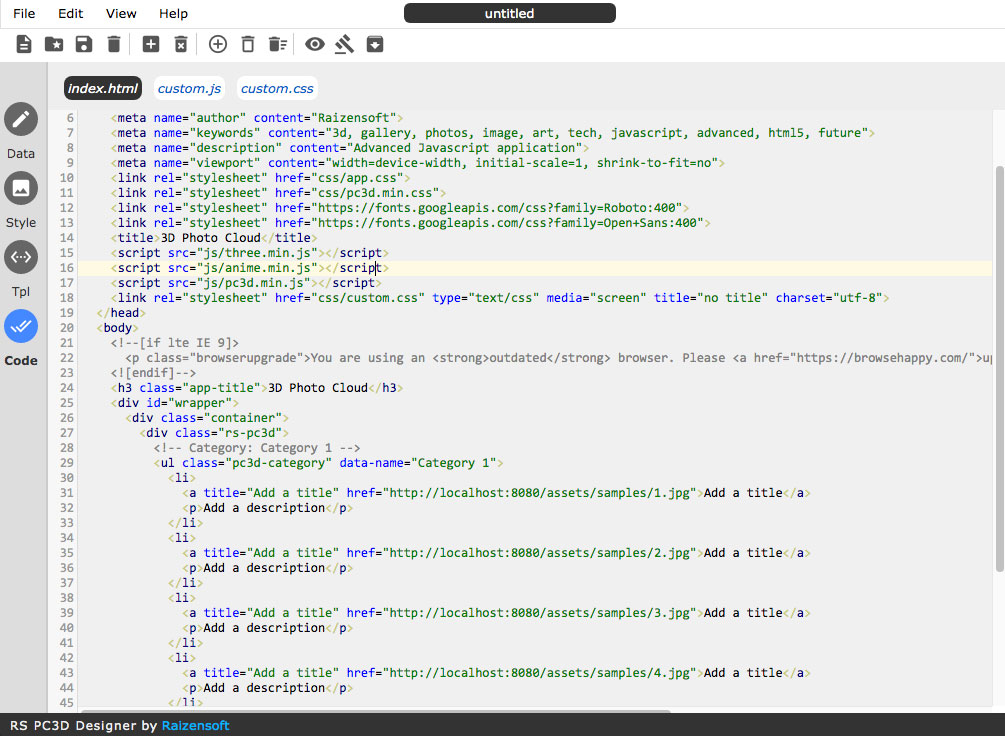
The Generated Code presents the final result from Template Editor combined with current gallery data items and gallery configurations.
Workflow
Start by uploading gallery images using Data Editor. Add the item title and description, you can also crop the image to a suitable size.
Switch to Style Editor to apply and adjust any configurations and styles avaiable.
Hit the Preview button (eye icon) to generate preview files and preview the current gallery.
Hit the Publish button to generate the final project files.
You can also Download the published project as ZIP files for maintenance purpose.